
How To Capture The Best Landscape Travel Photography For Breathtaking Scenes

Want to know how to get better landscape photos? This guide is going to tell you how to use your camera functionality, lighting, post-production and more to get the best landscape photos – so read on!
Landscape Travel Photography: A Definition
What is landscape travel photography? Landscape travel photography is any photo that captures a wide or long range of vision, encompassing a long or deep field of view within the frame.
Why take landscape photos when you travel? This kind of photo captures the entire scene so you can have it for your own memory, plus allow others to see things they may not otherwise experience… and you get to share your trip with them, in a photo that encompasses a lot more than a selfie or close-up photo!
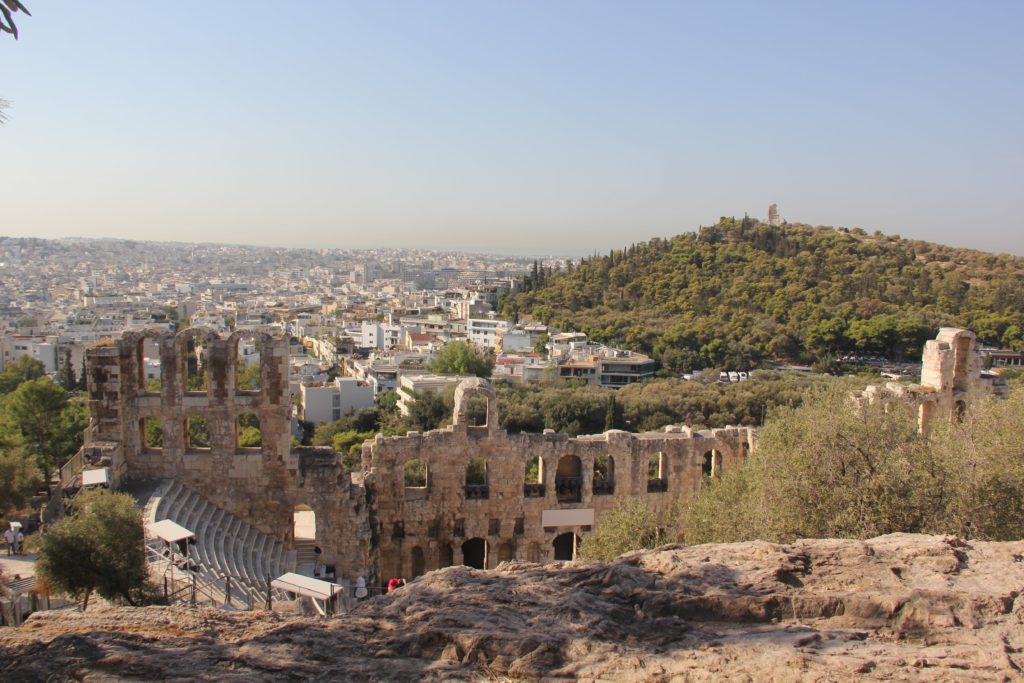
Read on to learn more about the meaning and interpretation of landscape travel photography, the types of this genre, and how to take your own frame-worthy photos on your next trip as a beginner!
Why capturing a landscape in a photo is important
What makes a landscape photo good starts with the photographer’s vision. Your vision is most important when it comes to capturing your travel experience in a landscape photo.
Think and plan landscape photos with purpose instead of taking mindless, haphazard snaps that will later make you wonder what was so special to cause your photoshoot frenzy.
Look around and decide in your mind first what you want to appear in the box that is the photo. Do you want to get that tree? Or the path down that field? Make sure you consider where you want everything to appear so it makes sense.
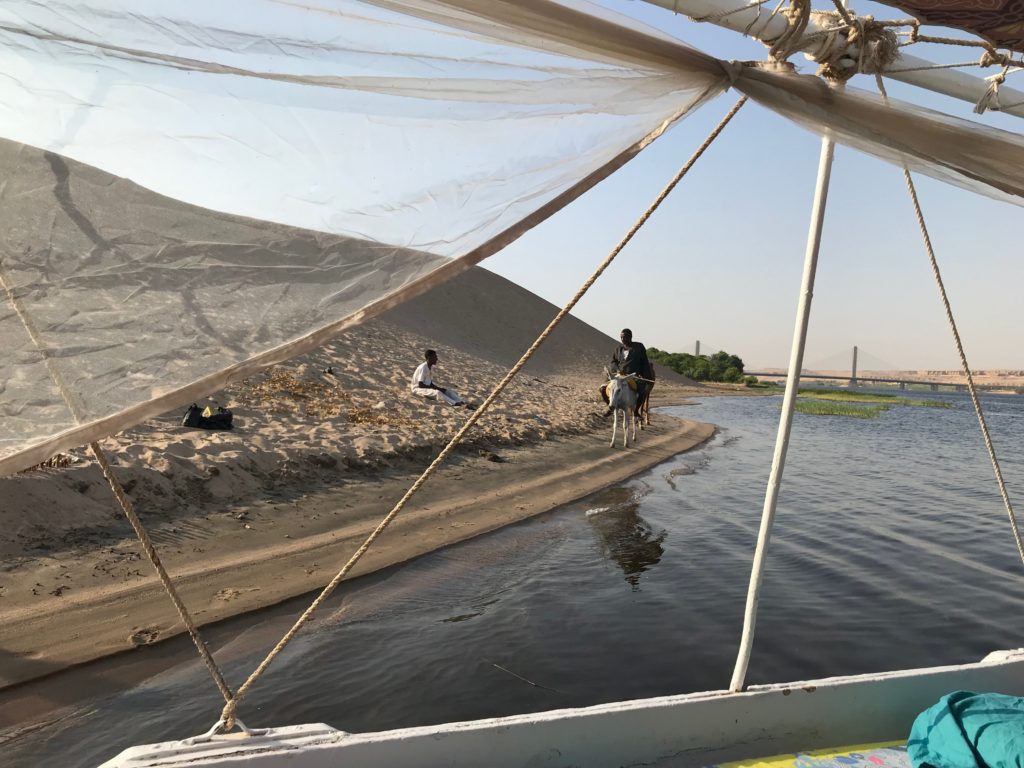
Make It Iconic
I always ask myself, what would make this photo iconic? This means thinking about the takeaway question: If someone were to glance at this photo for a split second, what would I want them to remember about the photo?
The best way to do this is to think about composition, subject and rule of thirds, which is coming up. But first…
What you’ll need: gear for your bag and more
Before we get into the specifics of framing the perfect landscape travel photo, we need to discuss gear. Don’t get too overwhelmed or wrapped up in gear!
Spending a lot of money on expensive stuff does not an amazing photographer make… The most skilled photographers can use cheap gear and wow people more than that 4K camera in the wrong hands.
If all you have is an iPhone, use it! Even if all you have is an old digital camera, go for practicing with that. There’s no shame in investing in new gear either… just remember that cameras and lenses are constantly improving, so give yourself time to level up before buying that “next big thing”, so it can be even bigger – plus easier on your bank account.

Smartphone gear to improve your landscape travel photos
If you have an iPhone 13 or greater, or the equivalent in an Android or Google Pixel phone, great! You’ve got the best phone camera available. If not, and even if you do, there are some ways to get some varied types of photos with some extra gear:
Smart phone lens kit that includes wide angle and other types of lenses is great for landscape photos taken on any smartphone, especially older ones that don’t have wide-angle capability. An example is this Xenvo Pro Lens Kit. You can easily pack this in a pouch and fit in any bag, ready to clip onto your phone when you want to capture more of the landscape!
4-In-One Travel Tripod that works for cameras and smartphones, doubles as a selfie stick and monopod, and can even be used as a trekking pole. This will keep your shots straight and non-blurred by movement… also to avoid that annoying thing where you accidentally get part of your finger in the shot because you forgot where the lens were on your phone!

- Seamlessly shifts from a compact 15 inches to an impressive 58 inches
- Crafted from a lightweight yet robust aluminum alloy
- Universal ball head with 360° dial and bubble level
Camera gear for more stable and improved landscape photos
Camera/Lenses
DLSRs or Mirrorless cameras are the way to go, but you can definitely use whatever you have. For beginners, I recommend something like the Canon Rebel series, like the EOS Rebel T7. Find more beginner DSLRs under $300 here.
I’ve used Canon since I started using DSLRs, and they’re the best for videos, so you can use it for both. When I used a Rebel, people asked me what camera I had because the quality is amazing… you can definitely use this the right way and no one will think you have any kind of “beginner” camera.
A good DSLR for intermediate photographers is the Canon 6D (full-frame camera). I have one and love i!
Moving into mirrorless is my next move, and for intermediate to advanced photographers, the Canon EOS R5, the Sony A1 Mirrorless or similar is a great choice. Note that mirrorless takes different lens, so if you plan to go this route with cameras, it’s a good idea to start here as well.
With lens, the best kind to get for landscapes is a good wide angle lens… if you have a standard lens it can also work, but I always try to get my hands on a wide angle lens for the best landscapes!
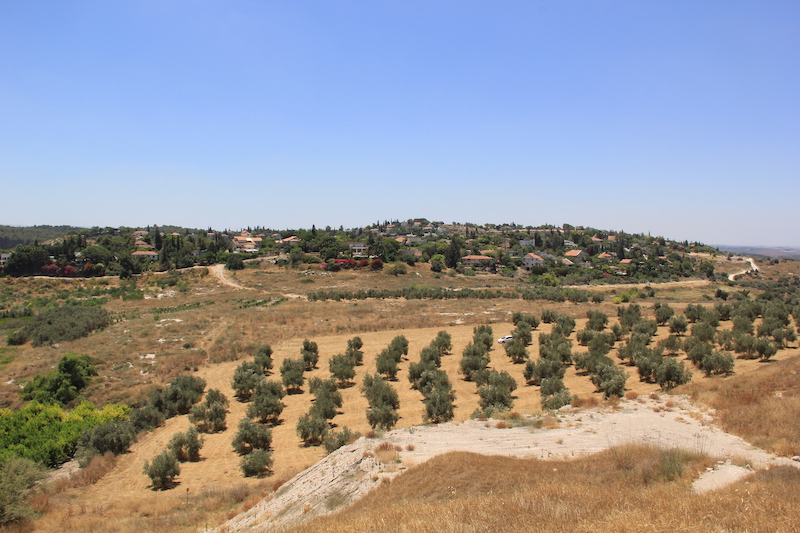
Tripod and/or monopod
Tripods are amazing for landscape photography, especially at night for a stable image.
- Seamlessly shifts from a compact 15 inches to an impressive 58 inches
- Crafted from a lightweight yet robust aluminum alloy
- Universal ball head with 360° dial and bubble level
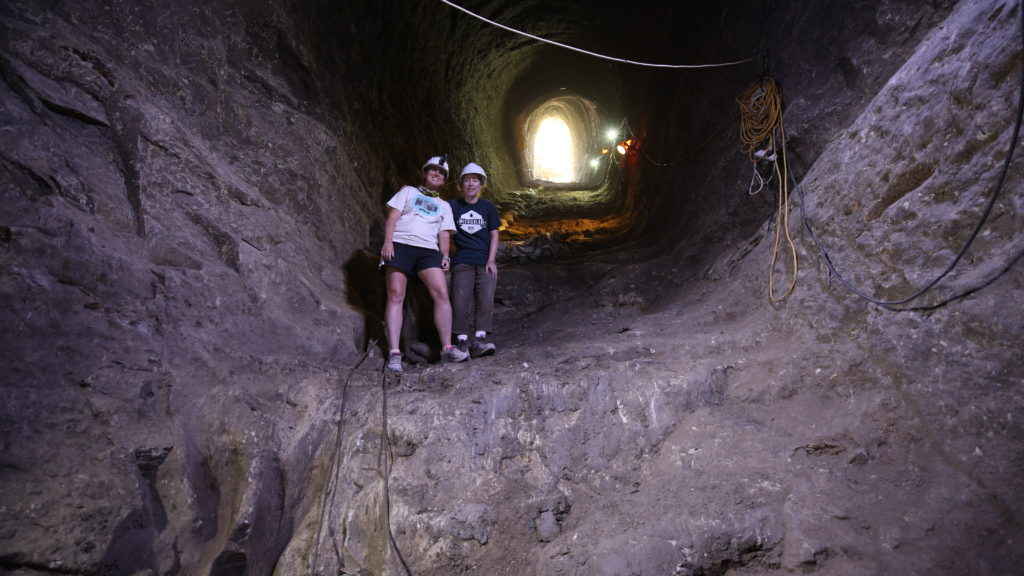
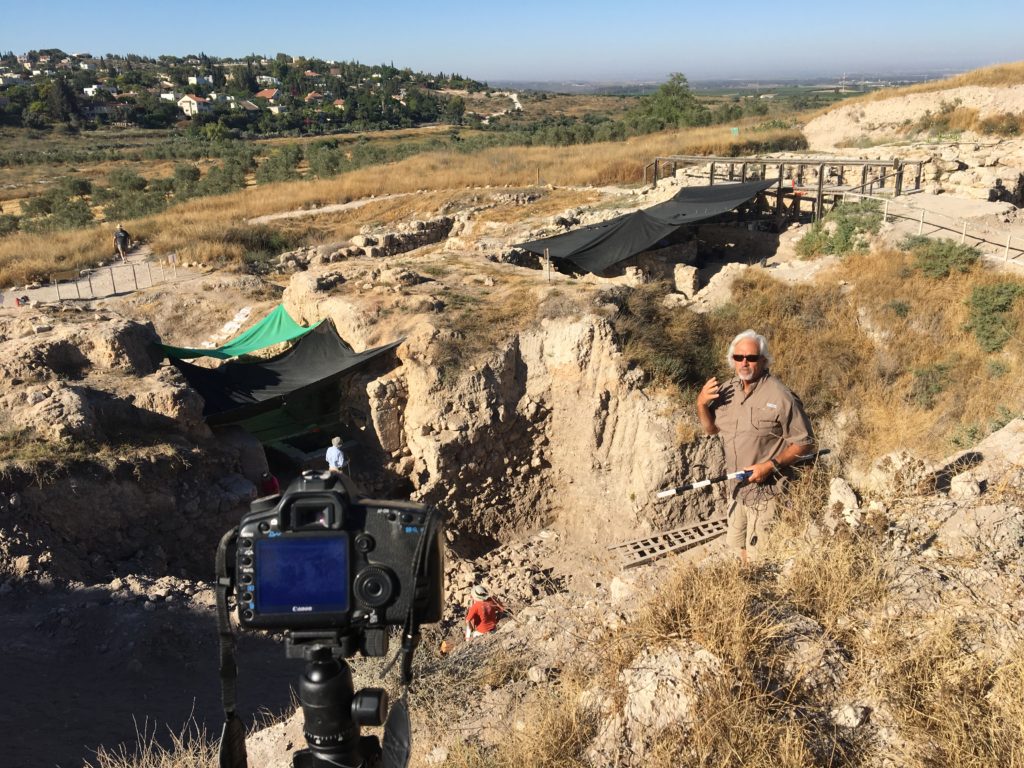
Monopods are perfect for video or long shots where you can hold onto it… I used one of these in Israel in the Tel Gezer water system, where a tripod couldn’t stand (because there was nowhere to set it up evenly).
The right memory card
The right kind of memory cards are key for DSLRs… especially if you plan on doing any video. You need to get the Extreme PRO SanDisk cards to make sure your camera doesn’t randomly quit filming on you or give you other issues… I know this from experience.

- Beginner-friendly with room for growth
- Best for taking more photos & video
- Temperature Proof, Water Proof, Shock Proof & X-ray Proof
- Affordability
Camera Strap Options
If you’re backpacking and/or hiking to get to your destination for landscape pics, you may want a camera strap or other option to stabilize your camera more as you move around! Here’s my top five list of camera strap options for backpacking – one is a clip, one clips to your backpack straps and one even comes with a rain cover!
📸 Check out my top 5 camera straps for backpacking
Filters
Filters are optional ways to reduce over-exposing photos and getting rid of things like reflections. A polarizing filter is an example.
Circular Polarizers help you get better photos, especially of water reflections and the bottom of bodies of water (when it’s clear enough). Just make sure to get the right size to fit your lens!
Gear to protect your gear and photos
Safety/insurance
A lot of travel insurance will cover your gear, so going with a company for travel insurance can work – just check with them first, because if it doesn’t cover everything you may be able to add more for a fee. Companies like Progressive and Nationwide offer insurance for cameras and photography businesses.
You can also cover your gear, including your laptop, with companies – this is usually only necessary for professional photographers with a lot of equipment. A company like Insure My Equipment can work for this.
👉 For travel insurance, I use Allianz.
Extra batteries
Always have extra batteries on hand, and don’t forget to charge all your batteries.
External Hard Drives
Back up all your photos in at least 2-3 places, like external hard drives and the cloud, for safekeeping.

- Easily store and access content on the go
- Designed to work with Windows or Mac
- To get set up, connect the portable hard drive to a computer for automatic recognition - no software required
- Plug and play simplicity with included 18 inch USB 3.0 cable
Protective Bag
There are all kinds of camera bags out there. Some I’ve used &/or recommend include:

- DIY Camera Bag Magic
- Shock & vibration-absorbing design
- Weather-Ready & Feather-Light

- Camera bag with ergonomic & padded sling strap to rotate from back to front for quick, easy access
- Fits 1 DSLR camera with attached zoom lens + 1 or 2 extra lenses or accessories

- Customizable Efficiency
- Weather-Resistant Durability
- Effortless Accessibility
For more photography gear and camera suggestions, check out my guide to the 21 Best Cheap Cameras For Travel Photography Beginners and The Best Travel Photography Gear For Beginners (for all types of photography)!
Travel photography tips for frame-worthy landscape photos
1. Landscape travel photography essential elements
Lighting: When you’re taking landscape photos, you get lighting done for you. However, you’ll need to keep a few things in mind:
- Reflections and shadows: make sure these aren’t showing up in unwanted places.
- Over-or under-exposure: Work with your camera settings to make sure you have the right exposure settings for the time of day.
- Time of day: When you see the sun is hitting just right, time is working for you, so take that shot!
Composition: This is using lines to compose your image in the frame. Look for the rule of thirds – your camera probably has a grid – and place the subject in the middle, one of the sides, or in one of the crosses where lines meet.
For more on the rule of thirds, read my ultimate travel photography guide.
Subject: Having a definite subject will make your photo stand out to the viewer, and it will be memorable, which makes for a great photo!
Look for what you want to feature within the landscape, like a rock structure or tree, and place it somewhere in the rule of thirds. Then, cut down on anything that takes away from your clear subject!
2. Types of Landscape Travel Photography
There are three types of landscape travel photography:
Representational, or real landscape photography: this is where you don’t include any humans or animals as subjects, only the natural landscape, in traditional format.
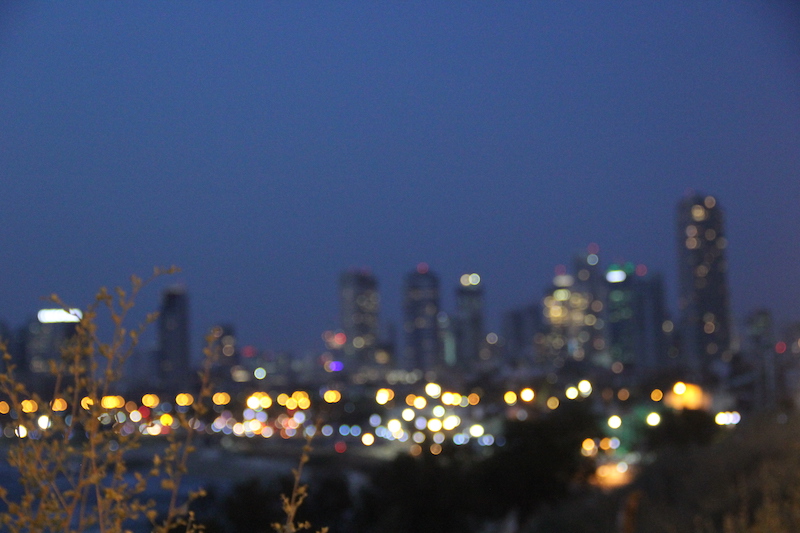
Impressionist: this is where the landscape is presented in a non-realistic way, using long exposures or intentionally blurring the photo to make it look dreamy.
Abstract: A more artsy landscape photo, which is not traditional by using shadows or lighting to draw attention away from the landscape itself, like with patterns in nature.
3. Get to know your camera
Getting to know your camera settings is important for taking the kind of pictures you want and making sure your image looks right.
First, switch off “auto” mode and to “manual”. You don’t have to do this, and if you want, when you’re practicing, also take a duplicate photo in auto in case your settings are off – however, in certain situations like nighttime shots, you won’t be able to capture as much. It’s just a matter of practice and getting to know your camera.
Select “RAW” instead of JPG for type of file. This makes larger file sizes, so you’ll need a memory card with a lot of storage space, plus an external hard drive with at least 1TB (I use Seagate). You can usually choose RAW for photos on a smartphone too, which will allow more room for editing and higher image quality, which makes a big difference.
Exposure settings/ISO: Make sure your exposure fits the outdoor lighting – otherwise your photos will be too bright or dark and difficult (or even impossible) to edit.
Shutter speed: If you’re shooting at night, you’ll need a slow shutter speed, which also means you’ll need a tripod for a clear shot. If it’s brighter out, you don’t need slow speed. Fast shutter speeds are usually used for capturing action shots.
The only difference is if you’re trying to capture a waterfall, which isn’t the same as animals or people, and the bokeh effect can give it an ethereal look.
Aperture: You’ll want narrow aperture for landscape photos, usually around F12+, to get most of the shot in focus. You can do wider for more bokeh, or the blurred out background (for more impressionistic/abstract landscape photos).
4. Get to know your gear
Make sure you’re ready and able to get ahold of your camera when you catch a perfect scene.
Practice using your camera, tripod or other gear so you’re ready to go when the time comes. Practice multiple times, and you won’t even have to think about it. You can avoid rookie mistakes this way!
5. KISS (Keep your landscape travel photography simple!)
Gear and camera settings are your tools, not your gods: you aren’t obligated to have or use anything fancy to get great photos! Just practice, and don’t be afraid to sometimes try new things, and you’ll keep improving as you go.
Be prepared and travel light: Having a lightweight camera is extremely helpful when traveling, because not only will you have less weight to carry, but it will be easier to get to when you need that photo ASAP.

6. Avoid blurry landscape photos
This goes with the above point: Unless you’re taking an abstract or impressionistic photo (like the night cityscape above, which is blurry on purpose), landscape photos are traditionally meant to be all in focus. It’s helpful to use manual settings to avoid the auto function trying to focus for you.
7. Have the mindset of an adventurer/explorer
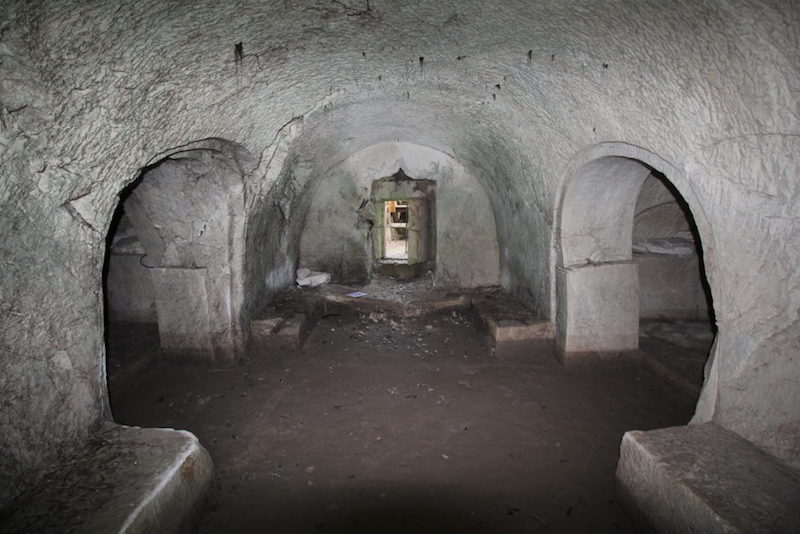
Think like Indiana Jones, or the Mummy… I went in with bees, beetles scurrying from behind trash bags I moved, and more when I photographed these tombs. You never know what you’ll encounter in nature!
Photograph even in bad weather: sometimes cloudy and rainy days make for the best photos! Like my experience in Istanbul with the Hagia Sophia:

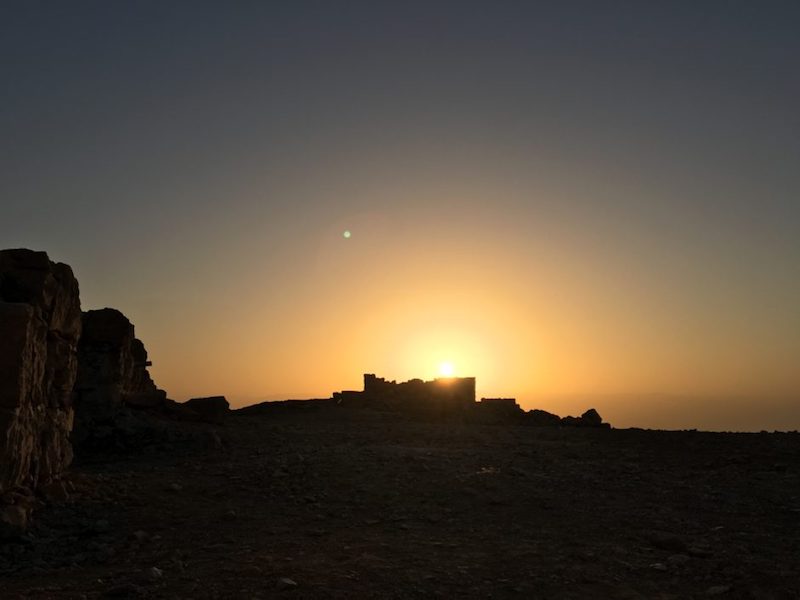
You can always choose to plan and research locations before you visit, which of course is entirely optional (live in the moment, photography is about capturing moments!). However, if you want to photograph something in golden hour or blue hour, you may need to wake up early or stay out late to get the shot.
8. Know local customs before you go
Make sure to be respectful of the culture you’re in, the site you’re visiting, and the people you’re around. For instance, when I visited Pompeii, there is a place where you can see the plaster of the bodies found, and respect is appreciated. Taking tons of photos and being loud or laughing is not.
9. Take lots and lots of landscape photos, and vary them
Taking a lot of photos is the real key to getting those frame-worthy shots, and honestly my top tip! Take multiple shots of the same thing – sometimes you’ll get moving parts you don’t see.
Look at the photos and re-take to change anything undesirable. Sometimes, your first photo is the best, but a lot of the time you’ll be so glad you have options!
Long exposures are great for night shoots or things like water and waterfalls, to play around with for that dreamy look.
Also take shots from all kinds of angles – even if you have to get on the ground or stand on something tall, as long as it’s safe, you can get unique shots that stand out from the crowd!
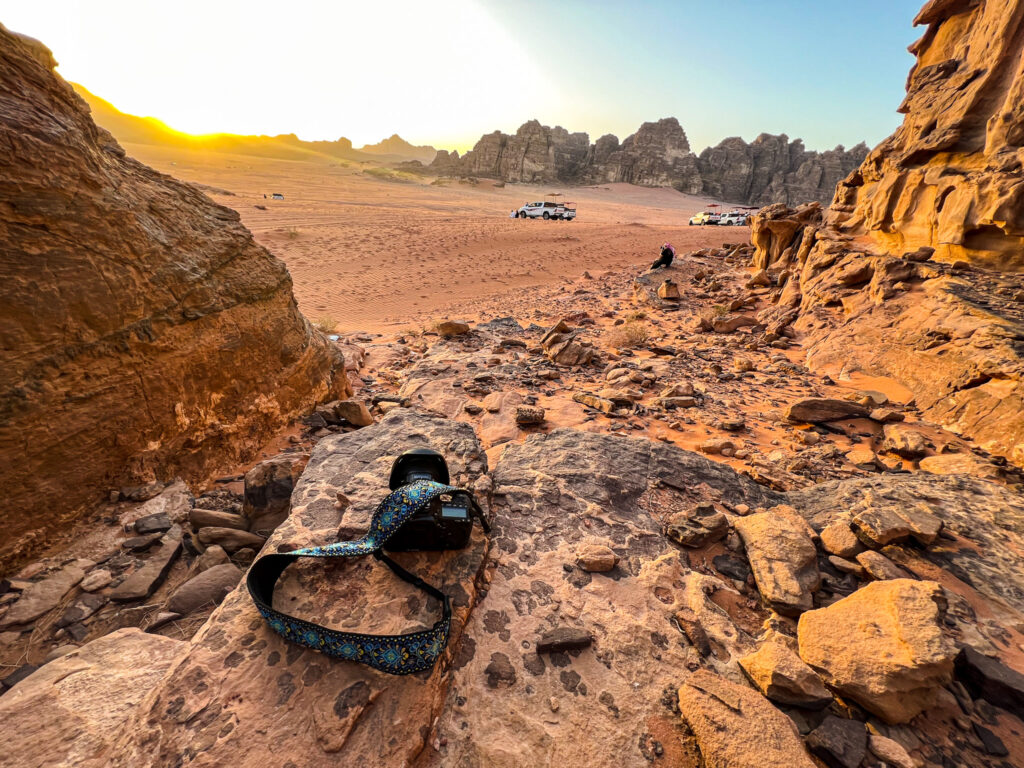
10. Post-processing tips for landscape travel photography
Editing photos can go a long way. Sometimes you just can’t capture the lighting right (because the HDR, or High Dynamic Range is different – this is the difference between the brightest and darkest light you can see vs. your camera), but when you edit you can make it look more like you remember… and make it stand out more for others to see what you mean when you describe it!
You can fix colors, lighting and add depth so photos look more 3-dimensional. You can also crop out anything you missed, remove people in the background from crowded areas and more.
Software options for editing include Lightroom, Photoshop, GIMP (GIMP is free) and Luminar Neo, which is perfect for beginners because it can later be used as an add-on in Photoshop and Lightroom! You can do all the same things, removing backgrounds is a breeze and they have filters and presets. There’s also an app so you can edit photos from your smartphone on the go. Use code MUKI10 for 10% off with Luminar Neo!
11. Always make 2-3 backups
I said this before, but it’s extremely important. Having backups is key because you can have a malfunction, your equipment can get damaged, lost or stolen, and more. Just back up everything, please… on both External Hard Drives (I use Seagate) and the Cloud (something like Google Photos, iCloud, or Dropbox works great)!
12. Keep your gear in top condition
Have cleaning cloths on hand for when you need them to clean lenses. Also be careful when you remove and replace camera lens – make sure it’s in an area clear of dust, and that your hands are clean. If needed, you can take your camera to get cleaned at a store.
📷 Get the Altura Photo Professional Camera Cleaning Kit
Proper storage and care: Be ready for weather issues and make sure you have a carrying case that will protect your camera. You can use plastic bags if there’s some rain and you still want that shot, too. Make sure the camera is dry before putting it away.
📷 Get this DSLR Mirrorless Camera Rain Cover Sleeve
Also make sure if your camera is in air conditioning and you’re bringing it into hot/humid weather, you give it time to acclimate before you bring it out and use it – it’ll have a lot of condensation and may not work, or you may just see a lot of fog.
13. Practice, Practice, and Practice Some More
This also includes patience. The more you practice, the more you wait for the shot or take multiple shots to get the right one, the easier it gets. Before you know it, you have the vision of the shot in your head, and getting the shot you want is second-nature.
14. Vision
Learn what you love to photograph and how you love photos to look. What will bring you the fondest memories? Capture the feeling. What can you do that will get what you want in the shot? Does it need to be from a higher or lower angle?
Maybe you need to move to another part of the space? Look around and search for ways you can get a cool photo, and you’ll get tons of ideas – then, take a lot of photos and you’ll see what you like best.
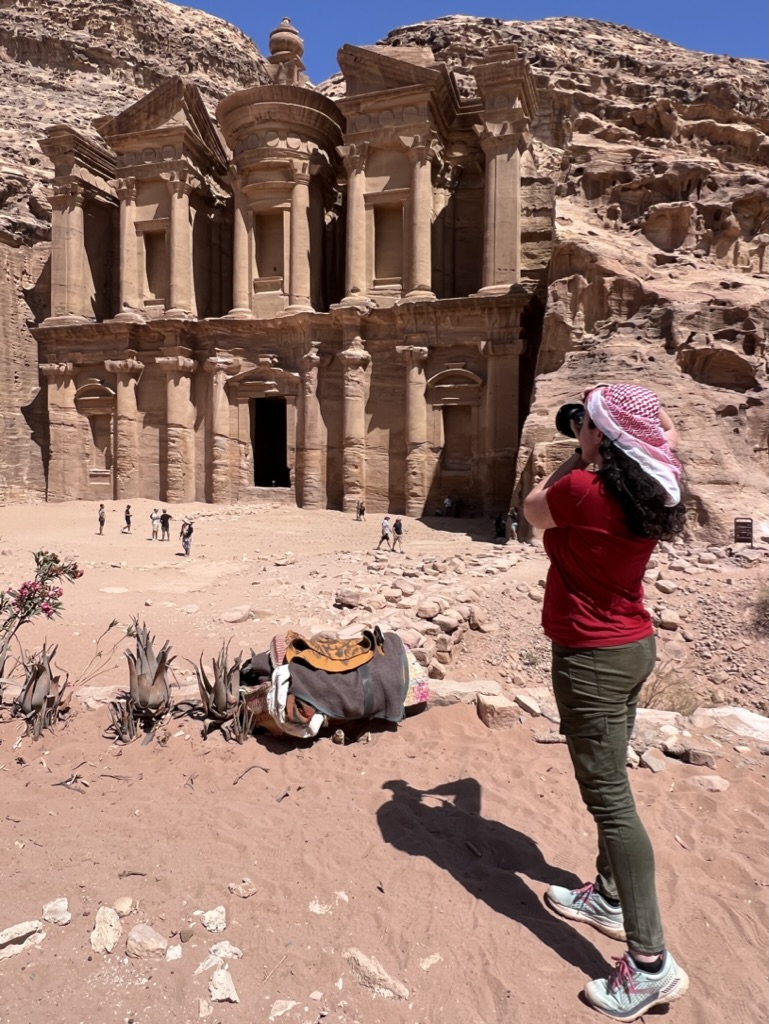
15. Know Where to Get Landscape Travel Photography Ideas
If you’re looking for inspiration, I would consider taking a class or watching tutorial videos on YouTube, but it can also be easier that that.
Watch movies and pay attention to cool shot set-ups. Think about framing, leading lines and rule of thirds while you’re watching movies, and you’ll start to come up with ideas. Then, go out into your own yard/neighborhood/city and practice finding cool shots, even in mundane locations!
Wrapping Up: Landscape Travel Photography
You don’t need to be an expert to start taking amazing landscape travel photography on your next trip – or better yet, this week in your own area! When you just start and get some practice, you can enjoy playing with photography and before you know it, you’ll be knowledgable and people will be asking how you take such great photos (how do I know? Because that’s what happened to me)!
FAQs:
- How is landscape photography different from street photography? Street photography can include smaller focal points, such as a single wall with graffiti art. Landscape photos can include these things, but it would also have to include the landscape as part of the photo.
- How is portrait photography different from landscape photography? Portrait photography focuses on one single subject that is close to the lens, without incorporating the background in any significant way.
- Can you make money as a traveling photographer? Yes. You can do freelance photography and submit photos to stock resources, or aim to get photos in magazines, and more. You can also become an event photographer and travel for events, work as a resort or cruise photographer, or be a photojournalist. And, of course, you can become a travel blogger and/or influencer. Most of these things take time to build up, but are entirely possible!
For more on photography, check out these articles:
📸 The Best Cameras For Landscape Photography (For Every Skill Level)
📸 Best Cameras + Lens Kits for Landscape + Wildlife Photography
📸 Ultimate Guide to Travel Photography
📸 21 Best Cheap Cameras For Travel Photography Beginners
📸 The Best Travel Photography Gear For Beginners (for all types of photography)
📸 10 Best Intermediate-Level Cameras For Travel Photography
📸 Top 5 DSLR Cameras Under $300
📸 The Top 5 Best Camera Straps For Backpacking
📸 The Best Cameras For Surf Photography (For Every Skill Level)
📸 The Best Cameras For Skiing And Snowboarding (For Every Skill Level)
📸 8+ Best Cameras For Cold Weather + Winter Photography Tips
📸 Amazing Lake Photography Ideas (Full Guide)
📸 84 Best Travel Photography Quotes
📸 33 Unique Gifts For Photographers
📸 The 9 Best Mirrorless Cameras Under $1000 For Travel Photography

Planning Your Trip? Use my favorite resources:
Accommodation: Booking.com
Rent a Car: Discover Cars
Travel Insurance: Allianz
Flights: WayAway
Tours: Viator.com
Airport Transfers: KiwiTaxi
